
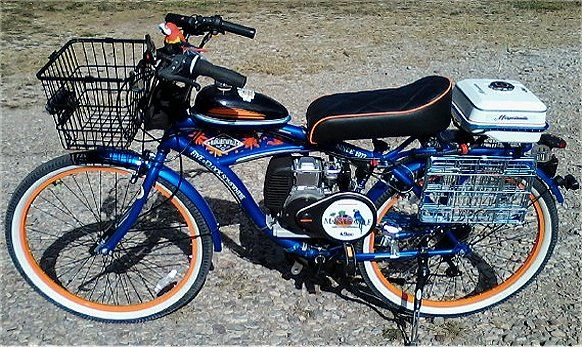
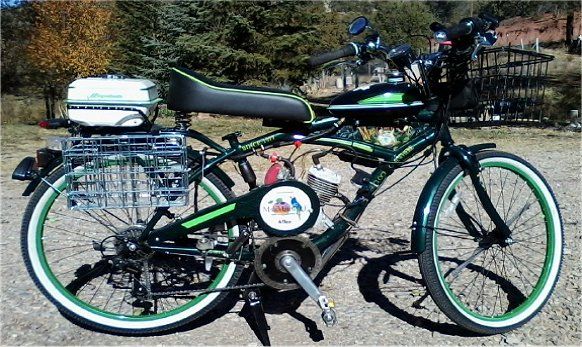
Motorized Bicycle With SBP 7 Gear Shifter 4 Stroke (Margaritaville)
Motorized Bicycle With SBP 7 Gear Shifter 4 Stroke (Margaritaville)

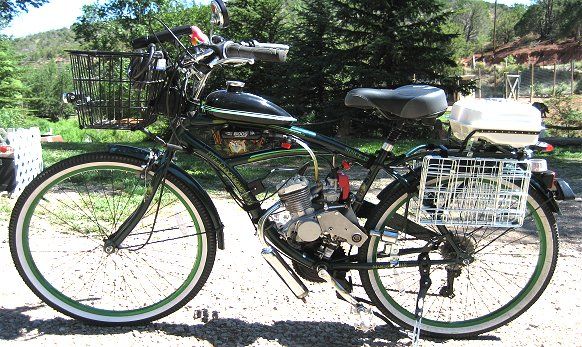
Motorized Mountain Bike With Rear Friction Drive 49cc 4-Stroke
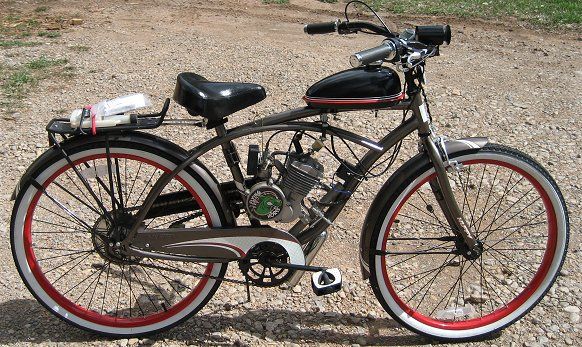
Basic Motorized Bicycle - 26 Inch Cruiser - 2 Stroke - 49cc
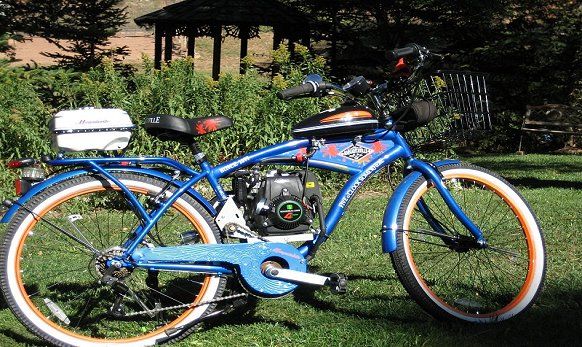
Motorized Bicycle With SBP 7 Gear Shifter 80cc - 2 Stroke (Margaritaville)
Motorized Bicycle With SBP 7 Gear Shifter 80cc - 2 Stroke (Margaritaville)
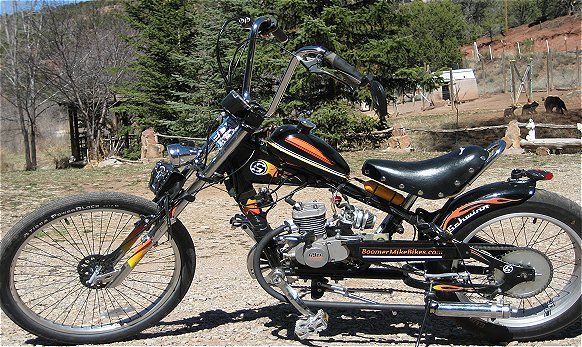
Custom Classic 24 Inch Schwinn Stingray Chopper - 49cc - 2 Stroke

.
Welcome To Boomer Mike Bikes
This site is dedicated to all Motorized Bicycle enthusiast. As we grow this site, we will be adding “How To” videos, accessory / part suppliers, and our own customized ideas. The left side bar displays mostly items I have used and purchased from these vendors. They have given me good service.
Please Bookmark Us and Come Back Soon!
Basics:
2-Stroke vs. 4-Stroke… If you like to tinker and tune 2-stroke is for you. Some of the cons are vibration, mixing oil with gas, clutch, push/peddle starting, smoking, louder, and cold natured. Pros are Price, availability of accessories and parts, nostalgia factor, style or appearance and performance.
4-strokes are more expensive but you get what you pay for. Very quite, very little vibration, pull start, no mixing gas, and oil, automatic transmission, and very little maintenance. One of the cons is size. They are not a lot bigger, but because they are wider, you will need to modify your bottom bracket and install wide crank arms (included in most kits) to clear the engine. You will also need a transmission (automatic clutch assembly). They are also included in most kits.
What type of bike? For the easiest installation a Cursor style bike is best. Tip… Take a sheet of typing paper and fold the top down 2 inches. This will give you a piece of paper 8 1/2 x 9. If this paper will fit inside the frame where the engine mounts, this bicycle will work.
Shifting Gears…. If you are VERY mechanical (this project isn’t for the weak of heart) SBC (Sick Bike Parts) makes a kit that allows you to shift gears if you have a bike with gears.(no more than 8 speed work best)
NOTE: If you have front and rear hand brakes on your bike, you will need a dual cable hand lever on 2-stroke engine installation. (The left side will be replaced by the clutch lever.) You can go to Ebay to purchase one.
.
.
How To Videos
How To Install | How To Install |
Great Video Channel for mutiple | How To Install |
Cool Accessories
|
|
|
|
|
|


Customizing & Modifications
 Carburetors: There is probably a lot more people out there that know a lot more than me about carburetors but this is what I’ve found out by trial and error.
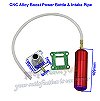
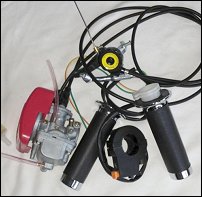
The carburetors that come in the engine kits either work or they don’t. Mainly leaking problems, no air adjustments and the idle adjustment leaves a lot to be desired. Also the choke lever is tough to get to when trying to start the bike. I’ve tried most everything eBay has to sell including there pretty high performance ones and finally found one that works very well for me. I live in a high elevation area so I need to be able to Adjust the carburetor. What I found is called a CNS carburetor and they are kind of hard to find. (I’ll put a link below.) You can change jets, adjust the needle, and most of all it has an air adjustment screw. Another feature I like is it has a choke with a cable lever you can mount on the handle bars. It runs really smooth and doesn’t leak.
 Boost Bottles: I bought a boost bottle, installed it on a 49cc with the original carburetor and it did nothing. Took the same boost bottle and installed it on an 80cc with the CNS carburetor and WOW, what an improvement! The idle leveled out and boosted my power a lot. One thing I learned the hard way is that you need a new intake manifold that is tapped for the hose connection. You can get these on eBay but you need to know what mm it is. Usually 32mm or 40mm.
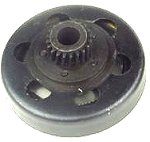 Little Known Accessory: I just found out recently that you can eliminate your manual clutch and install a centrifugal clutch on your 2-stroke 80cc engine. Just give it gas and go! No more pulling in the clutch when you stop. Here are two videos showing you how to install it. Video #1 Video #2.
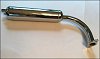 Mufflers: I wanted to increase my power and everyone said that an expansion chamber was the best modification you could do. My problem is that I didn’t want my bike to be so loud all of the time. I just need the extra power for going up hills. (I live in the mountains, everything is a hill…) Well I got inventive and came up the coolest standard muffler modification you can do. I made an at will expansion chamber for only when I needed extra power. You will need your standard muffler, a 2″ hose clamp, a cable, cable locker, 2 “L” brackets, a tiny cotter pin, a few self tapping screws and a spring. You can get the cable at Ebay and the cable locker also . The other items at Lowes or Home Depot. Enjoy the video below and have fun!
NOTE: Use this for what it is designed for. Running your bike with the muffler in open position all of the time could and probably will burn a hole in your piston. Using it for boosts of power when you need it should cause no problems and you will love it!
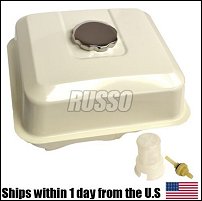
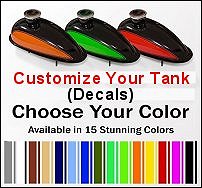
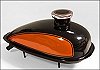 Easy Tank Customizing: It’s real easy to make your tank look great. All you need is a paper bowl or something similar, a small artist brush, masking tape and a can of spray paint. The tanks have a lip all the way around them. Mask above this lip. Spray your paint into your paper bowl until you get a small puddle. Use your brush to apply your paint to the top and edge of lip. Depending on the color it might take a couple of coats. Remove masking tape after one hour. Don’t let it completely dry before removing tape. You can also go to your local auto store and get a roll of double pin striping tape and apply it just above the lip around the tank. This really sets off your bike. If you really want to go full out click the picture and get the side decals too. Depending on the size of your tank, you might have to cut these decals length ways about an inch or so high. When I tried to install them, they kept bubbling because they were too big. If that happens to you, peel it off your tank, and put it on a piece of wax paper and cut it with a paper cutter. Here’s a video to help.
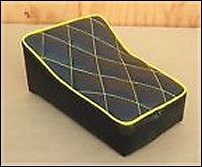 Custom Seat Install: These seats look super fine and are very comfortable. It’s real easy to install them too. You will need to take the seat post pillar clamp off of the bottom of your seat and find or make two “L” brackets that will mount to the bottom of your new seat. Doing it this way, it will mount just like a regular seat and can be removed easily. These seats come in all different sizes and styles. The ones in the pictures at top of the page are 16″ x 7″ but that is just a matter taste and the size of your choice . Below is a short video to help understand the mounting process.

Pull Start Install: These two videos will show you how to install a pull start on a 2-stroke engine so watch Video #1 If your crank peddle hits the pull start, you will need a wide crank peddle set so watch Video #2 also.
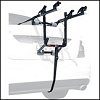 Car Carrier Mod: In some cases it is almost impossible to mount your motorized bike to a car rack carrier, especially the retro bikes. In the video below, I will show you an easy fix for using a standard car rack. Ebay has the adapter bar and seat post. (Know your size!)
Cool Tips
 .
.
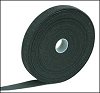
Velcro: Harbor Freight Tools has a 3/4 In. x 35 Ft. roll of Velcro for $6.99. This stuff is great! I use it to tie cables, hang rear baskets, tool pouches, etc. You can even split it length ways and use it for cable ties. Click the pic for details.
Super Glue: Did you know that a drop of Super Glue works great for locking screws and bolts just like Loctite? Don’t use it on anything that gets Hot, it won’t work. Two bottles for $1 at Dollar Tree.
Removing Hand Grips: The easiest way I’ve found is to get a hairdryer and a pair of gloves. Get the grip evenly heated and twist off wearing gloves. It gets HOT!
Pull Start Spring Fix: This is a great video showing you how to repair a pull start that the spring has come out. See Video Here.
Night Riding
.
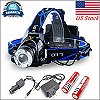
Night Lights: In my opinion the very best headlight for night riding is This One! It will brighten your path like nothing you’ve seen before. For $10 bucks you can’t go wrong.
.

Spoke/Wheel Lights: These things are Awesome! MUST SEE VIDEO BELOW! The units fit inside the spokes and attach with tie-wraps. They run on 3 AAA batteries that seem to last a very long time. (I use rechargeable) It has 30+ different effects that change every 5 seconds and you need a speed of 10~15 mph for full effect. The best thing is that they only cost $7. (You can get programmable units (below) for around $60.) They come from China and it takes about 3 weeks to get them, but it is definitely worth the wait for 7 bucks. You’ll have people flagging you down just to see what they are. The video below shows all.
(Watch In Full Screen)
..
.
Schwinn Stingray OCC Chopper Build

Build Video
NOTE:
I forgot to mention in the video that I had to cut off about 1/4″ of my left brake pad for the chain to clear.
Parts & Accessories For Chopper Build can be found on Ebay.
.
.
Preparedness
BikeBerry.com is selling bug-out bikes for $3000+. For less than $500 you can build a Great Bug-Out bike from resources on this page. If you are into preparedness these bikes are great for bug-out vehicles. Buy an extra coil and CDI, put them in a tin box, and you are even EMT proof.
.
. More To Come!
. ;
;
 .
.
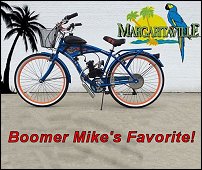
Free Shipping! - - "My Favorite!"
(Only 2 Left)
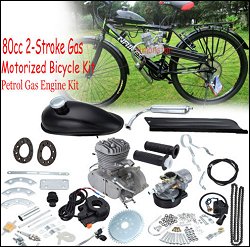
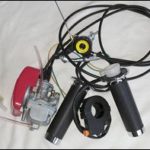
80cc 2-Stroke Complete Engine Install Kit Starting $114 FREE SHIPPING!
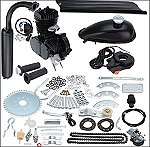
49cc 2-Stroke Complete Engine Install Kit Starting $105 FREE SHIPPING!
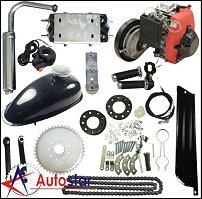
4-Stroke 49cc Complete Engine Install Kit Starting $257 FREE SHIPPING!
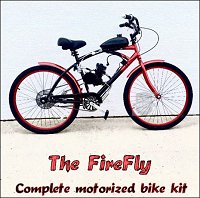 Includes 26" Bike & Engine Kit
Great Selection!
Custom Seats - - Great Selection
Best I've Found!
The Best I've Found!
 Great Parts Supplier
 Lift-off Front Basket
 Rear Folding Basket
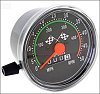
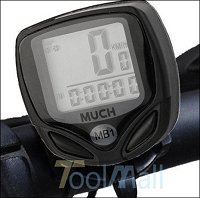 Wireless Speedometer
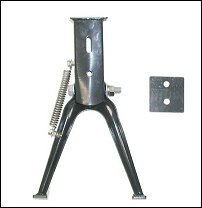
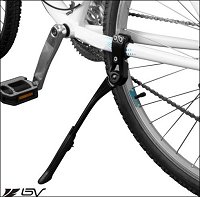 Rear Mount Kickstand

Great News Resource
![]()


